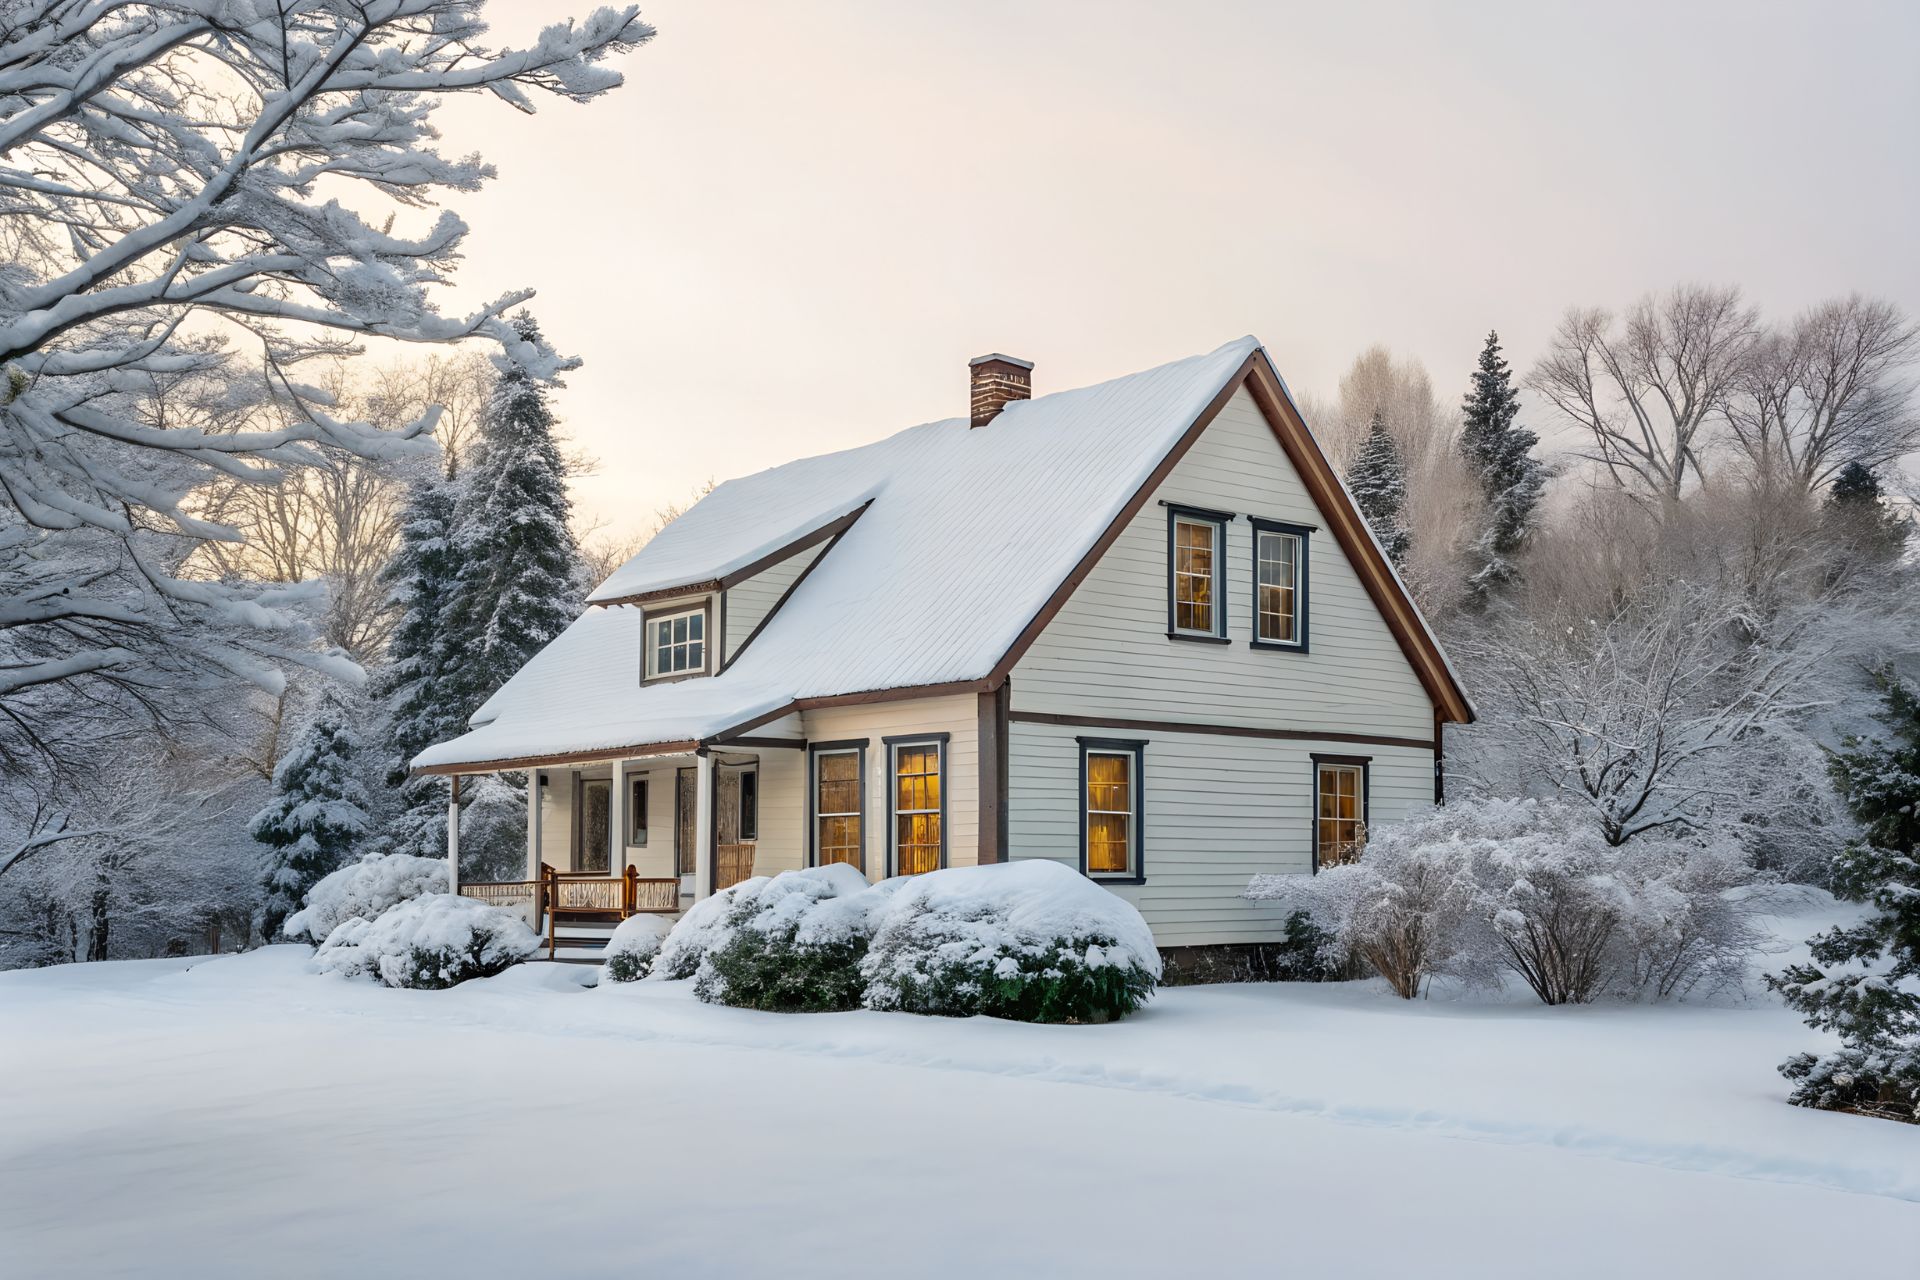
A Canadian winter is tough on every part of a home’s exterior, from the roofing system that shields you from snow and ice to the siding that protects against wind, moisture, and freezing temperatures. Preparing these surfaces before winter hits is essential to preventing costly damage and ensuring your home stays warm and efficient all season long. Even smaller exterior components, such as weatherstripping around garage doors, play a role in keeping drafts out and maintaining a stable indoor environment. This comprehensive checklist will help homeowners get their roof, siding, and surrounding exterior ready for the months of cold ahead, and identify when it’s time to call a professional roofing company for an expert opinion.
1. Inspect Your Roof for Early Signs of Damage
A visual inspection in the fall is the first step in preparing for a Canadian winter. Using binoculars from the ground, look for any shingles that are missing, cracked, or curling at the edges. Curling shingles are a sign of both aging and moisture, and they are especially vulnerable to being torn off by high winter winds. Also, check the gutters for an accumulation of “shingle sand.” These are the asphalt granules that protect the shingle from UV rays. A large amount of granule loss means the roof is nearing the end of its effective lifespan and may not provide adequate protection.
Beyond the shingles, pay close attention to the roof’s “weak points”—the areas where most leaks begin. This includes the flashing (the metal strips) around the chimney, vents, skylights, and in the “valleys” where roof planes meet. The sealant in these areas can crack and degrade over time. If a roof is older than 15 years, it is wise to have a professional roofing company perform an inspection. They can safely check for “soft spots” in the roof deck, which indicate underlying rot that could fail under a heavy snow load.
2. Clean and Clear All Gutters and Downspouts
The single most important task to prevent ice dams is to clean your gutters. Clogged gutters are the primary cause of this destructive winter problem. The chain of events is simple: leaves and debris create a dam, preventing meltwater from draining. This water overflows and refreezes at the edge of the roof, forming a thick ridge of ice. As heat from the home continues to melt the snow, the resulting water gets trapped behind this “ice dam,” pushes back up under the shingles, and leaks into the attic and walls.
This overflow does more than just threaten the roof. Water that cascades over the edge of a clogged gutter splashes silt and moisture onto the siding, which can cause staining and promote rot. It also dumps a concentrated volume of water directly at the foundation, which can lead to basement leaks and cracks. After cleaning the gutters, test the downspouts with a garden hose to ensure they are clear. Installing gutter guards can be a smart, proactive upgrade to prevent this issue from recurring every year.
3. Seal Gaps and Strengthen Siding Panels
A home’s siding is its “windbreaker.” To be effective, it needs to be airtight. Walk the perimeter of the home and look for areas where cold air can infiltrate. This is most common around window and door frames, corner trim, and where utility pipes enter the home. Resealing these gaps with a high-quality, flexible exterior-grade caulk is one of the most cost-effective ways to reduce drafts and save on heating bills. It’s a simple fix that stops air leaks in their tracks.
It is also critical to inspect the siding panels themselves. The notorious Canadian winter freeze-thaw cycle is brutal. A small crack in a panel allows water to seep in. This water then freezes, expands, and breaks the panel apart. Look for any vinyl siding that is loose, warped, or cracked. Also, check wood siding for signs of blistering paint or moisture. A loose panel can be caught by a high winter wind and torn from the wall. This will expose the home’s weather barrier. Nailing down a loose panel or replacing a single cracked one in the fall prevents a much larger, more expensive repair in January.
4. Improve Attic Insulation and Ventilation
The key to preventing ice dams and ensuring a warm home is a “cold roof.” This may sound counterintuitive, but it is the goal of a high-performance roofing system. A cold roof is achieved when the roof deck stays the same temperature as the outside air, which prevents snow from melting from the bottom up. This is accomplished with a two-part system: a thick “blanket” of insulation on the attic floor and a “breathing” ventilation system. The insulation stops the paid-for heat from your living space from leaking into the attic.
Ventilation is the other half of the equation. It acts as the “lungs” for the attic, flushing out any heat that does manage to escape. A balanced system requires cool, dry air to enter through soffit vents (at the eaves) and warm, moist air to exit through ridge or peak vents. Check to ensure these vents are not blocked by debris or insulation. An attic with proper insulation (R-50 to R-60 is common for a Canadian winter) and ventilation is the best defence against ice dams and a key strategy for lowering heating costs.
5. Address Exterior Drafts and Weak Points
Cold air is persistent and will find any opening. After checking the roof and siding, it is time to inspect the other “holes” in the home’s envelope. Look at the soffits for any damage from pests, and check the sealant around exterior faucets and electrical outlets. A common, often-overlooked weak point is the sill plate, where the siding meets the foundation. This junction should be well-sealed to prevent both drafts and insects from entering.
The largest “weak point” in most homes is the garage door. An uninsulated, poorly sealed garage door is a massive source of heat loss, especially if the garage is attached or has living space above it. Perform a “daylight test”: close the door, turn off the lights, and look for light bleeding in around the edges. Check the bottom seal (astragal) to ensure it is flexible and not cracked or flat. Also, inspect the weatherstripping on the perimeter of the door jambs. Replacing these seals is a simple, low-cost DIY project that significantly improves the comfort of the entire home.
6. Consider Preventive Repairs and Upgrades
This exterior check-up will likely reveal two types of issues: small problems that need immediate triage and larger issues that require long-term planning. The triage “must-dos” are non-negotiable. Replacing a single missing shingle, caulking a gap by a window, or nailing down a loose siding panel are low-cost fixes that prevent catastrophic, high-cost failures during a Canadian winter storm. These small repairs are the essence of proactive homeownership.
The long-term planning involves bigger-ticket items. If a roof is over 20 years old, it is time to start budgeting and getting quotes for a replacement, even if it “looks okay.” A modern roofing company can install a new system with an ice-and-water shield—a protective membrane at the eaves that provides the ultimate defence against ice dams. This can only be installed during a full replacement. Getting quotes in the fall for a spring installation is a smart move, as the best contractors are often booked months in advance. Waiting until a roof is actively leaking in February is the most stressful and expensive way to manage a replacement.
Sealing the Deal on Winter
Preparing a home’s roof and siding for winter is the most effective way to protect it from moisture damage, drafts, and heat loss. This checklist may seem long, but it highlights an important concept. The roof, siding, gutters, insulation, and even garage doors all work together as a single system. A failure in one area puts stress on the others. With a few strategic inspections and proactive repairs, homeowners can enter the Canadian winter with confidence. They will know their home’s envelope is secure. Before the first heavy snowfall, schedule a professional exterior assessment to get an expert opinion. This ensures the home is truly ready for whatever the climate brings.